Publishing to Jekyll From iPad with Shortcuts and Working Copy
Posted October 4, 2019 at 12:00 PM by Avery Vine
Estimated: 7 min
This is a post that has sort of been in the works for a while now, ever since I got the chance to travel halfway around the world this summer! You can read more about that trip here.
My blog is generated using Jekyll, a wonderful static website generator that allows me to convert markdown files into new posts with very little effort. I’ve written in the past about how I set up my blog using Jekyll in the first place - in fact, it was my first post! So all I need to do is stick the markdown files in the right place, and I’ll be able to generate new posts.
Now, another neat trick that I set up early on was to automatically run pushes to my GitHub master branch through Travis-CI‘s continuous integration system in order to make sure that new versions of my blog were generating without errors. Following successful generation, a new version of my blog is deployed to Firebase, completing the process. This means, in theory, if I can get the markdown files (which can be written from any device - not just a laptop) onto GitHub, along with the associated image files, then I can publish my blog from anywhere.
Inspiration struck while I was in Vietnam; I met two girls from England shortly after landing in Hanoi. One of them had been blogging about their whole adventure so far, which pushed me to investigate publishing posts to my blog from my iPad (as I was travelling without my laptop).

Vietnam was an absolute blast!
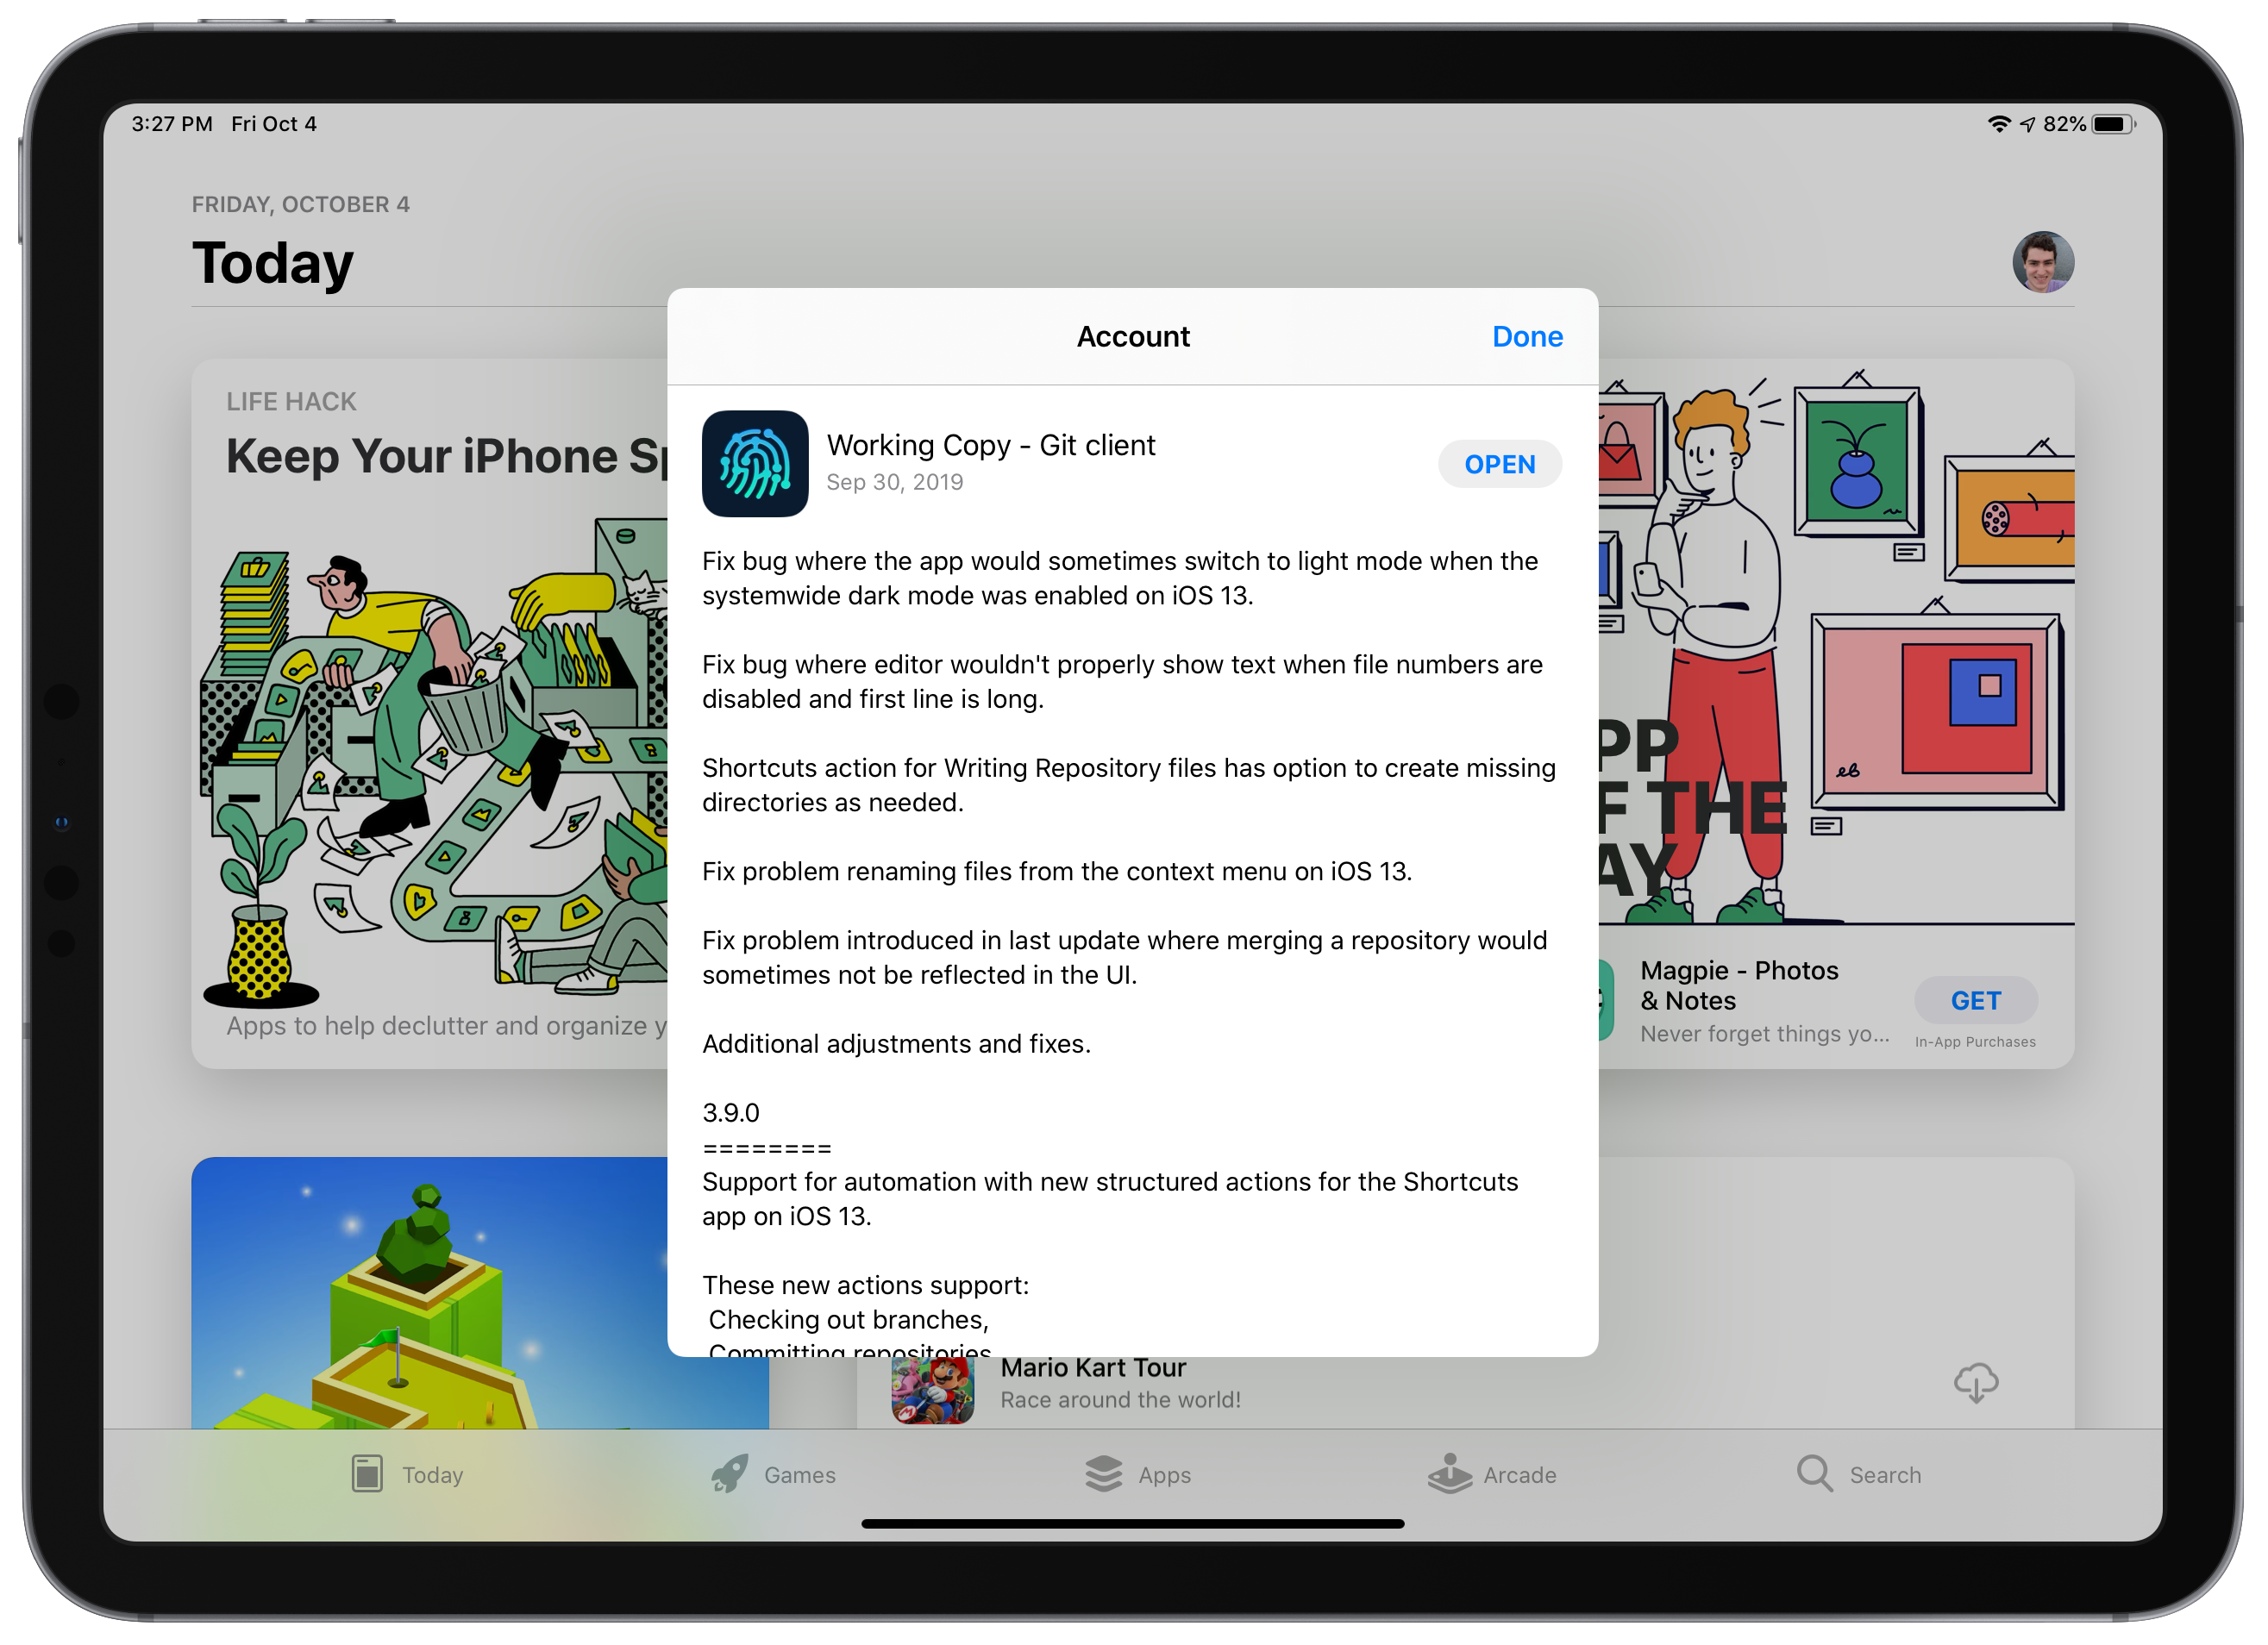
After a short investigation, I came across Working Copy, a fantastic Git client for iOS and iPadOS. So, I set about writing up posts on my iPad, and pushing them to my GitHub repo using the app. For the first couple of posts it worked wonderfully, but then the checking out of branches, creation of file structures, and pushing of changes started becoming a little bit tedious. What does one do when presented with repetitive and tedious work? Turn to automation - in my case, Shortcuts.
Just want to download the shortcut? Scroll down to Downloading the Shortcut!
Shortcuts and Working Copy

Shortcuts for iPadOS was the automation answer I was looking for
Working Copy supported x-callback URLs, a (fairly primitive) way of interacting with apps through predefined URLs and their parameters. It was ugly, but it worked. Shortcuts supports opening x-callback URLs, so it was just a matter of writing up the markdown posts in my notes app, then running the shortcut to deal with all of the prep work in Working Copy. Finally, I’d step in and manually put the markdown files and the associated images into the right places in the shortcuts-generated file-structure.
And that worked very well - in fact, it lasted me throughout my entire trip. I posted upwards of 10 posts using this method… and then iOS 13 showed up.
iPadOS brings many awesome new features, including a new look for the home screen.
iOS 13 introduced parameters to Shortcuts, which allows shortcut actions to take in variable parameters at runtime. This opens up the possibility for way more custom shortcuts, and Working Copy takes advantage of this very well. Starting with their iOS 13 update, there are now shortcut actions provided directly from Working Copy that allow you to take actions such as pulling a repository, pushing to one, writing directly to files, and more. All of a sudden, I didn’t have to rely on x-callback URLs anymore!
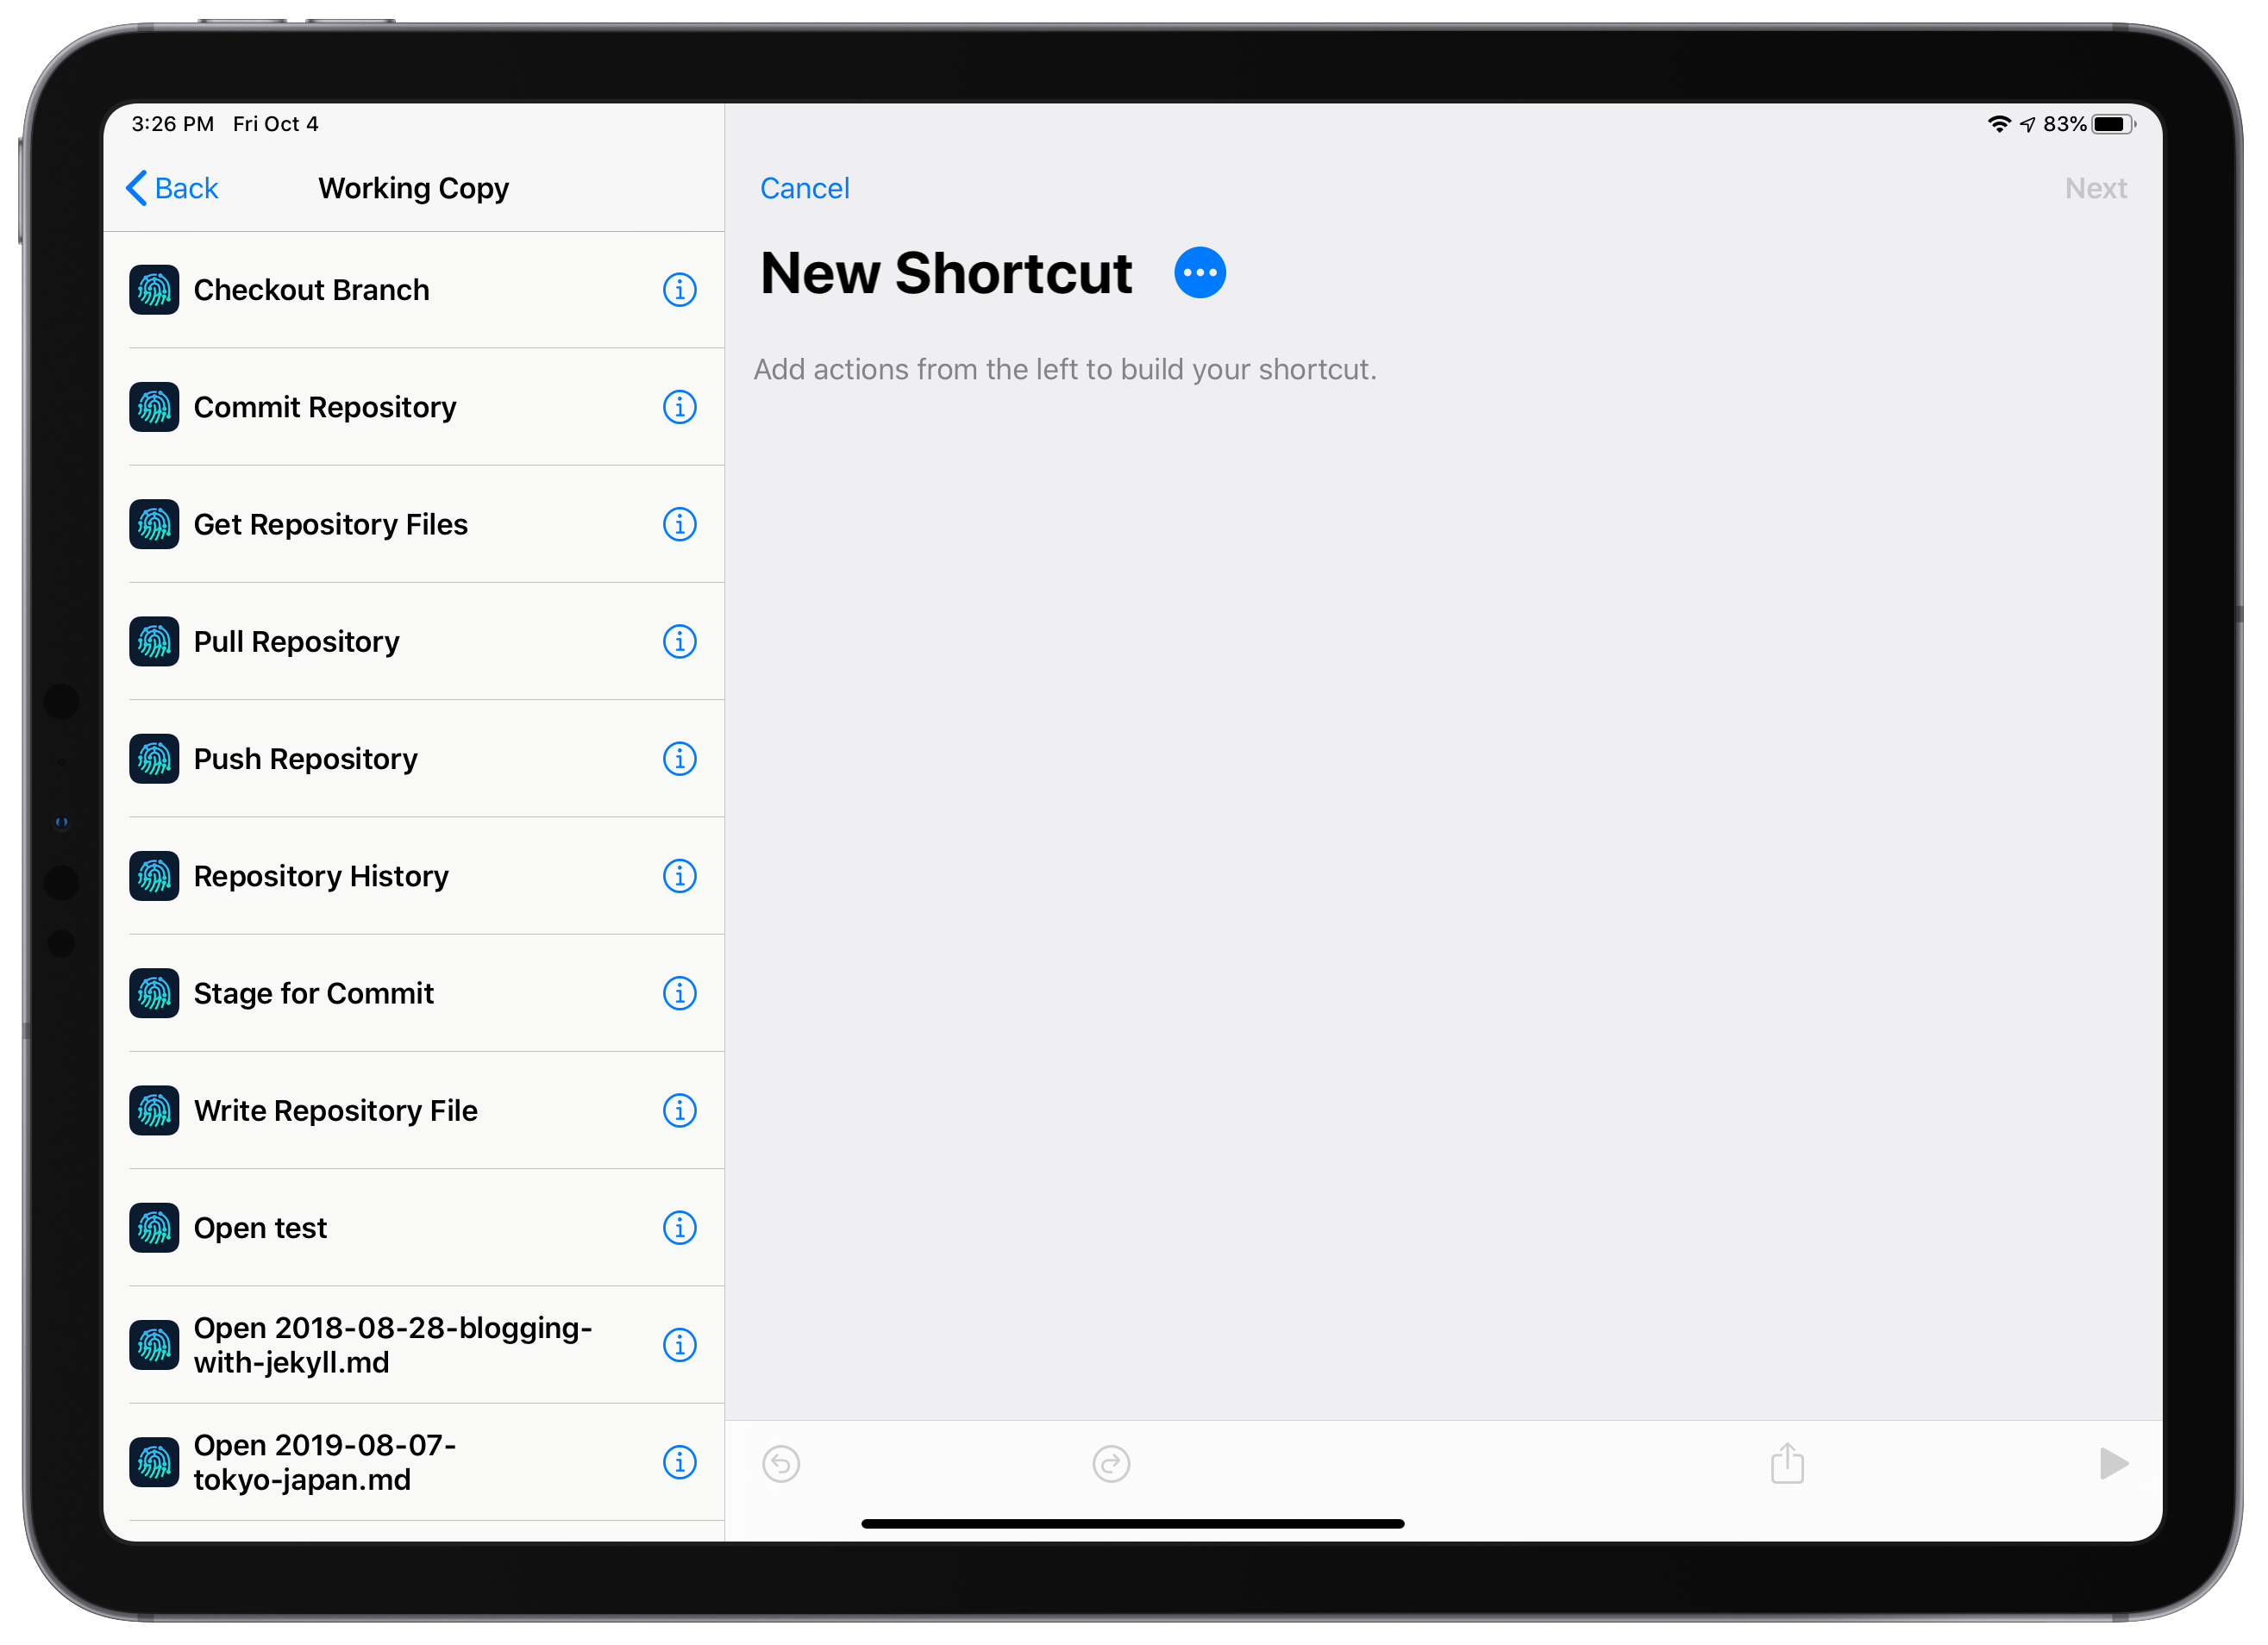
A list of the actions provided by Working Copy in iOS 13, at the time of writing
So, I set about revamping my shortcut. But this time, I wanted to automate more than just the prep work. I wanted to be able to share various types of input with the shortcut, and have the appropriate actions be offered to me in order to put up a new blog post. For example, sharing a note from Bear should take the text from inside and create a new blog post, whereas sharing a webpage should create a special kind of linked post, where I can add a small comment about why I’m linking to that page. In the former case, images should be chosen from the Photos app, while in the latter the primary image should be the hero photo from the linked page. So, I invested a lot of time and effort, leaving me with this!
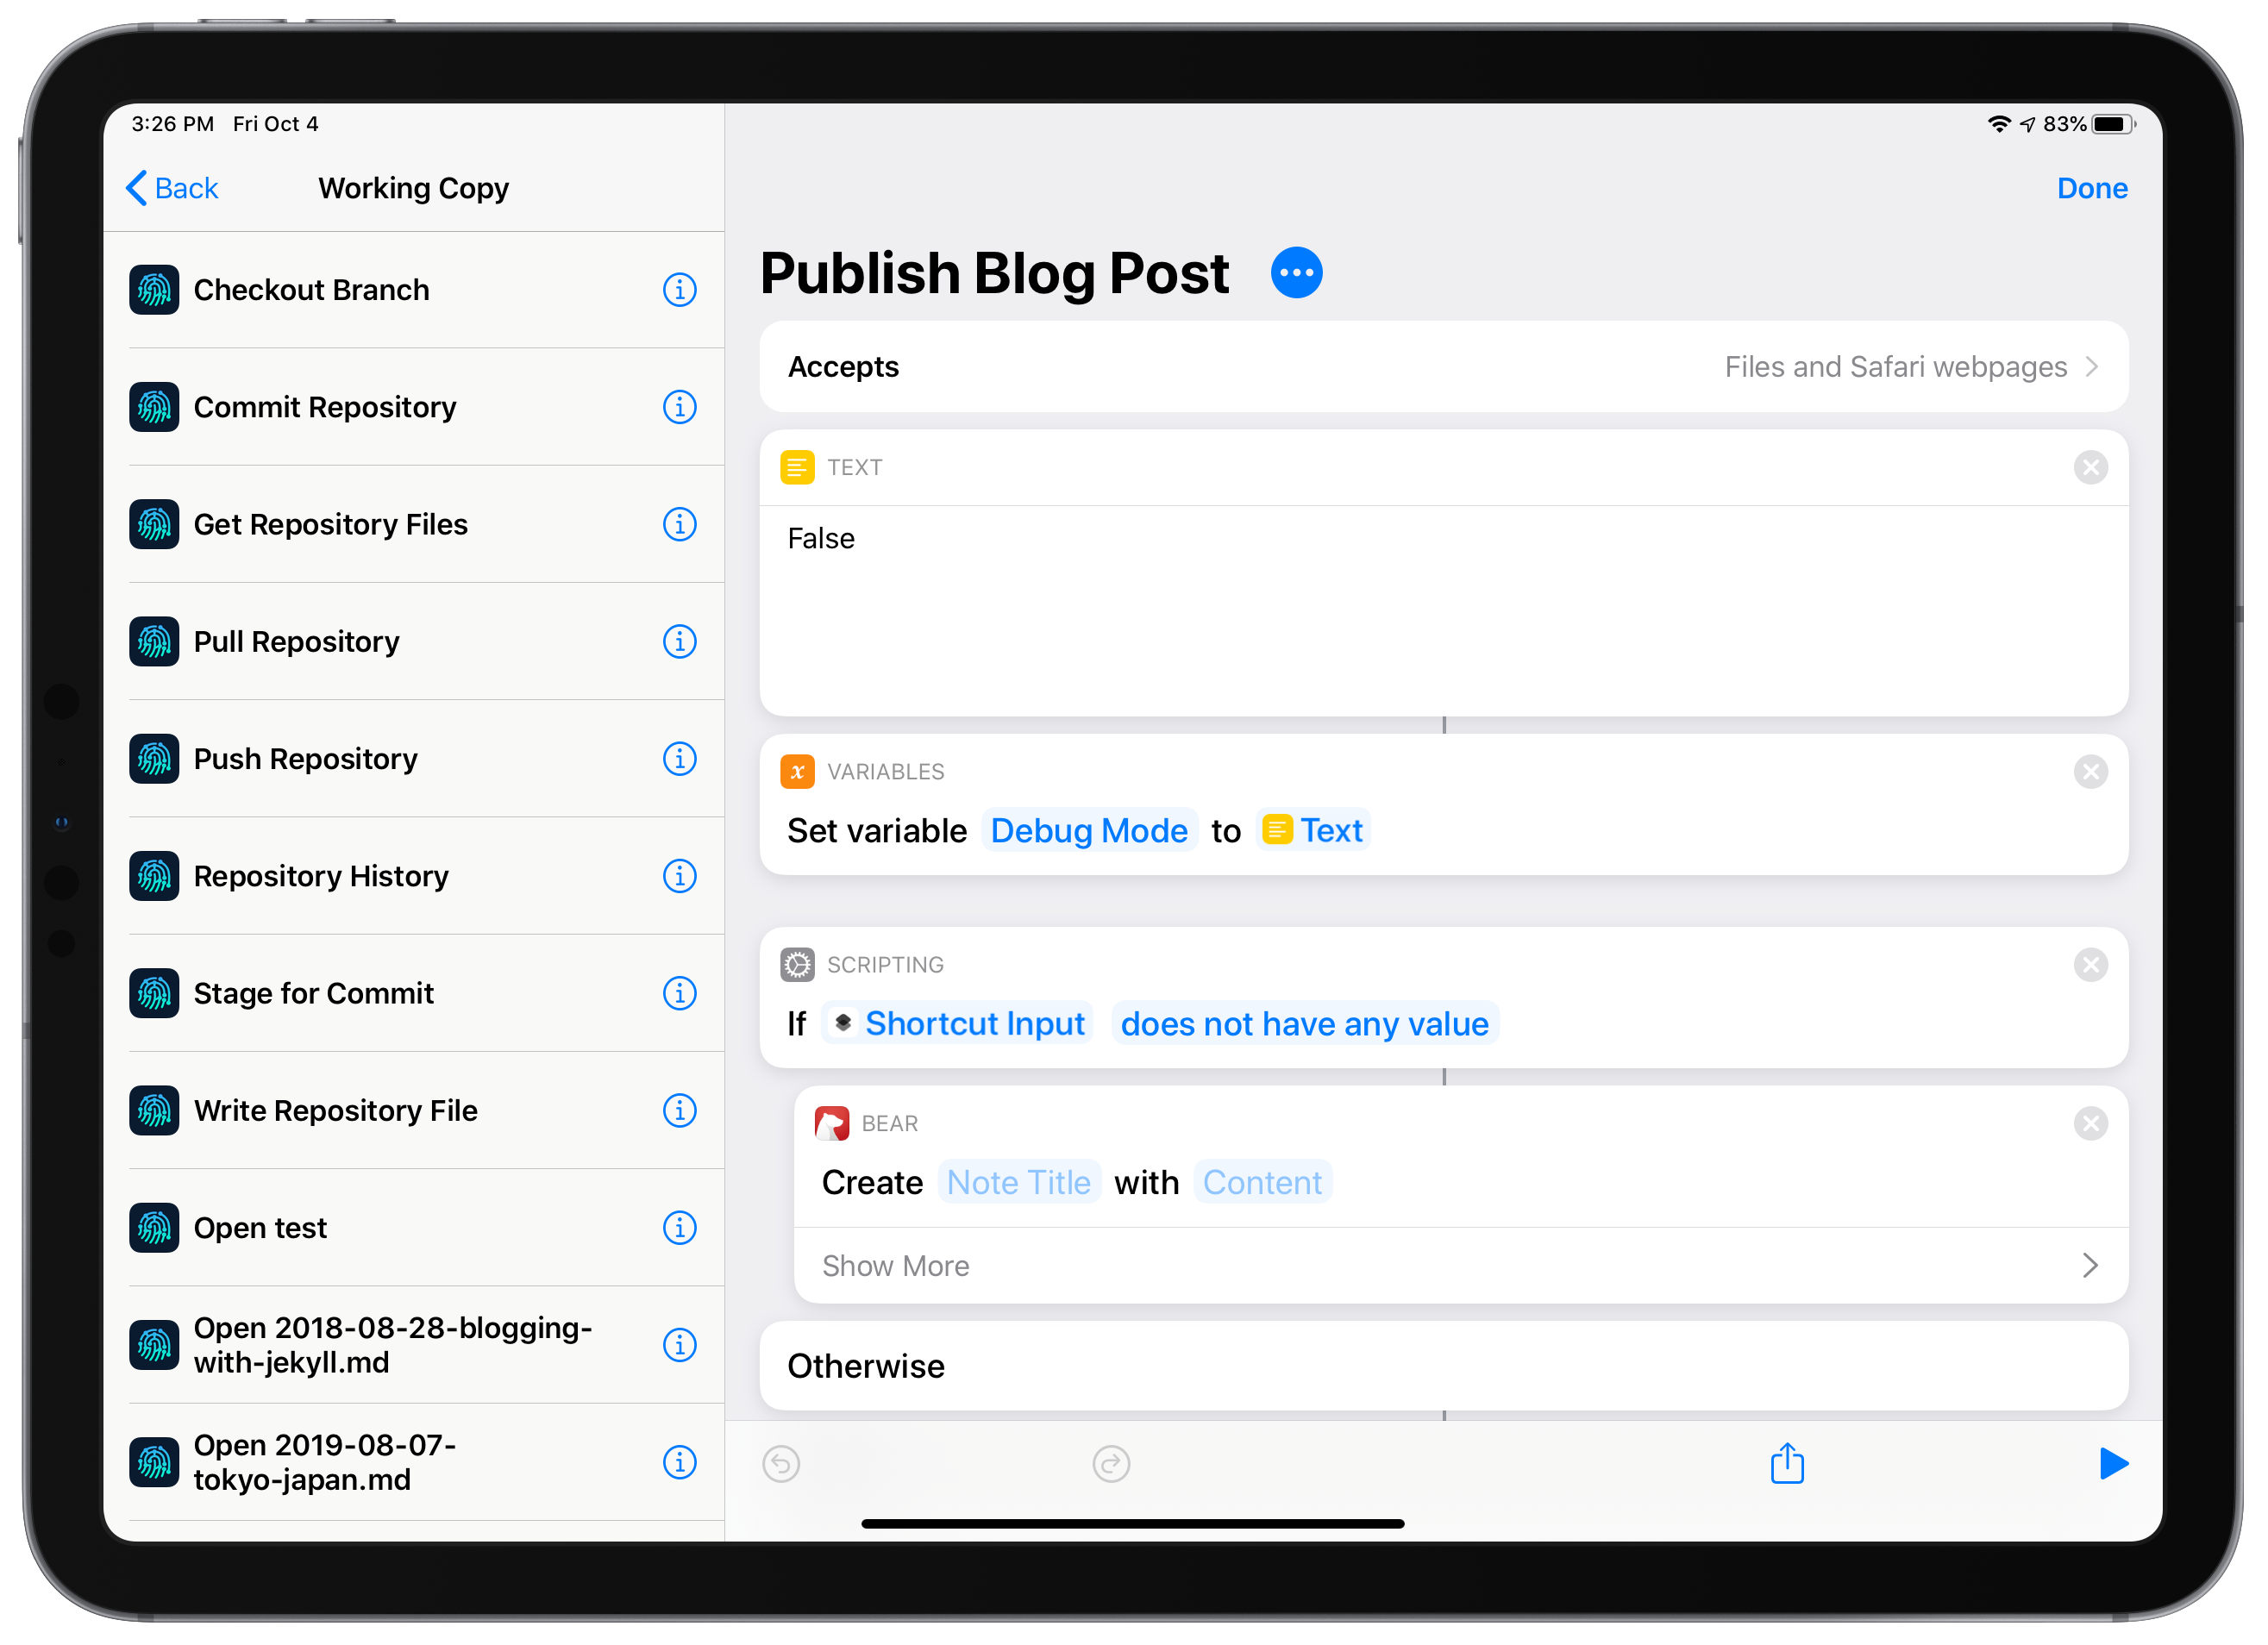
My glorious 100+ action blog post shortcut
Unfortunately, that didn’t get me all the way. I needed to put all of the assets for a particular post in the same folder, but that folder wouldn’t exist until it was created by Working Copy. And unfortunately, there was no way to create the folder in the first place! So I reached out to the creator of Working Copy on Twitter, and they told me that the next version of the app may give the Write shortcut the ability to do just that. Imagine my surprise when, within 48 hours of my conversation, there was an update on the App Store with that very feature!
The creator of Working Copy saves the day!
At this point, there is still one action (merging branches) that isn’t supported in the new parametrized shortcuts provided by Working Copy. Thankfully, I can still achieve that through the use of an x-callback URL, so all’s well that ends well. Here’s hoping that the developer of Working Copy gives us the ability to merge in the future - then the entire process of posting to my blog could take place without leaving the app I’m in!
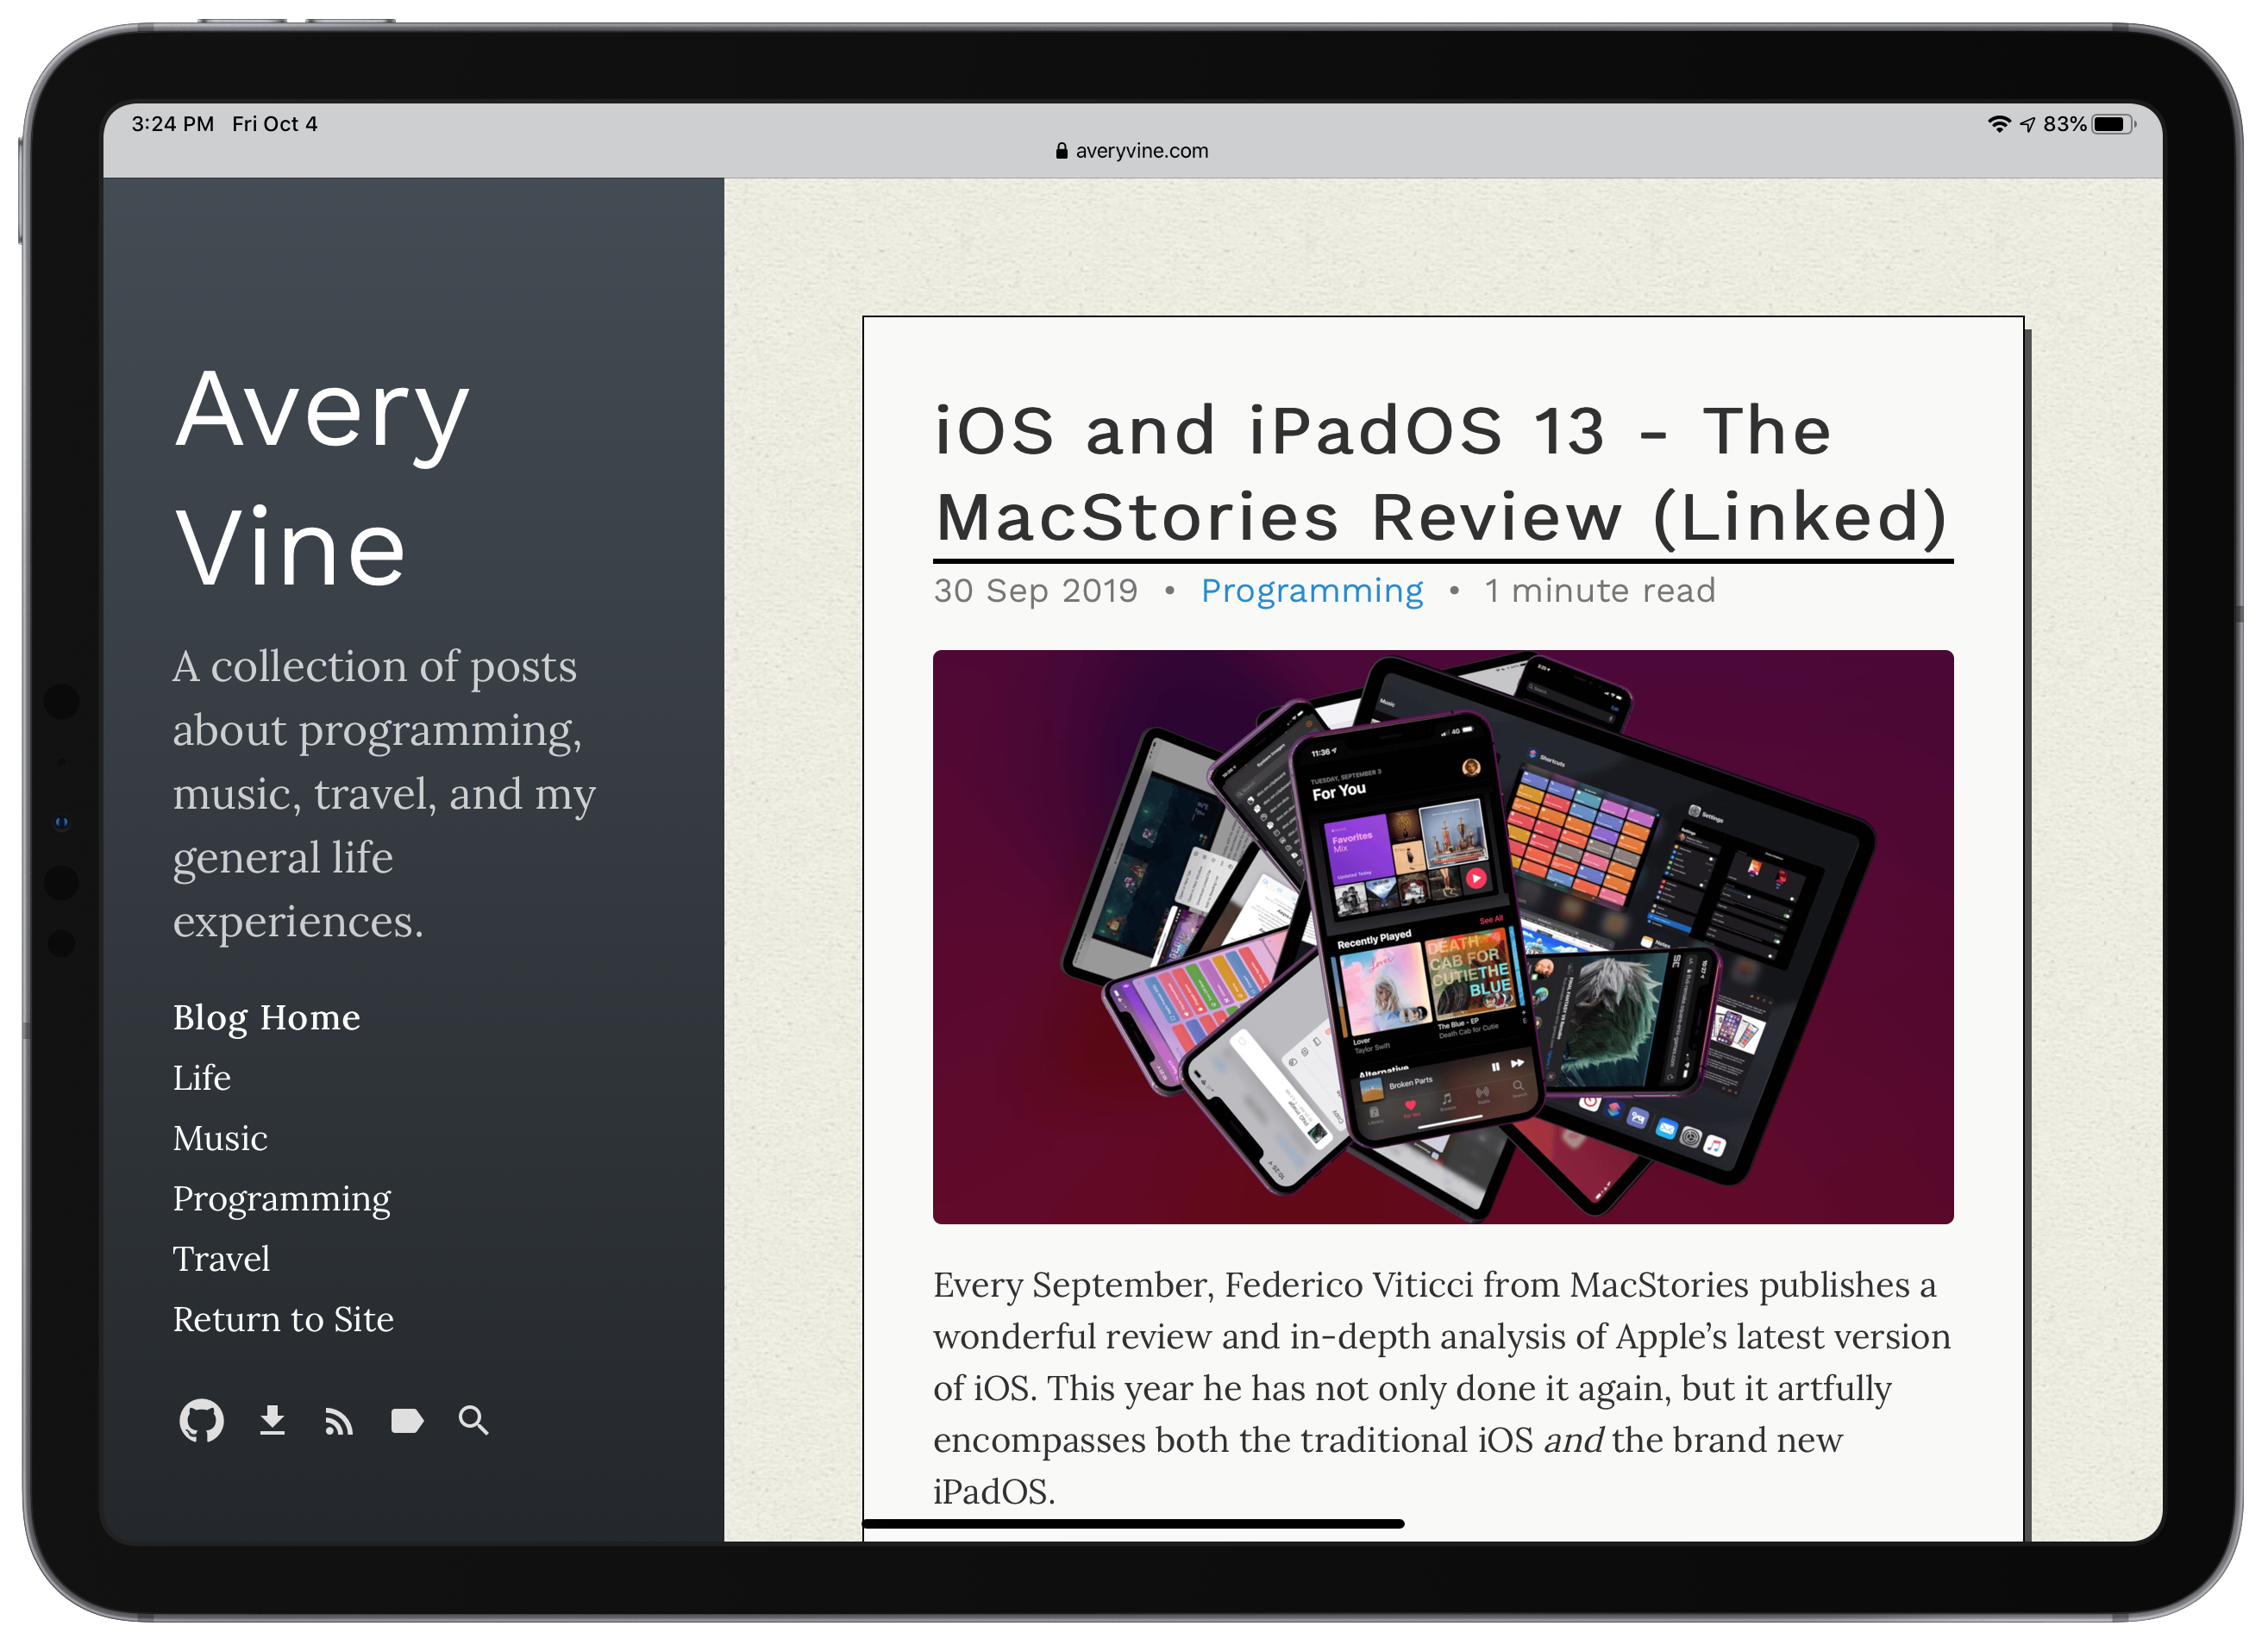
One last note - as I’m sure you’ve already guessed, this blog post was published using the shortcut!
The Shortcut Itself
The whole process actually takes place over two shortcuts. I abstracted away the process of preparing images (giving them titles, compressing them, etc.) as I wanted the shortcut to be flexible enough to be able to do that work on images either from the Photos app or from the webpage I’m linking to. For reference, that images shortcut is called Prepare Blog Image.
- If no input is provided, open a new note in Bear
- Otherwise, ensure my branch is up to date
- Provide a title and tags, and select a category. Save this metadata for later
- Format the post title (for use when linking assets, writing files, etc.)
- If the input is a Safari webpage:
- Extract the hero image, then run
Prepare Blog Image - Provide accompanying notes for the webpage
- Extract the hero image, then run
- If the input is a note from Bear:
- Iterate over every spot where there should be an image, and provide a photo picker
- Run
Prepare Blog Imageon each chosen photo
- Properly format the image links in the post content
- Combine the metadata from above with the post content
- Upload everything to Working Copy
- Push to my
blog/postsbranch, then open Travis-CI - After 120 seconds, send a notification reminding me to check if everything generated properly
- Upon returning to the Shortcuts app, ask if the post should be pushed to the
masterbranch - Upon confirmation, push to the
masterbranch, publishing the post
And that’s it! Of course, the shortcuts themselves are slightly more complicated than their descriptions, but you get the point.
Downloading the Shortcut
Want to check it all out yourself? You can download the shortcuts from the links below. Of course, you’ll need Working Copy installed (and Bear, if you want to be pedantic about step one of the shortcut). You’ll also need Esse, as that’s how some of the more obscure text parsing was done (like-this-kebab-case-style-text).